
DIY FM microphone for electronics beginners


$8.95
- Transmits your voice or audio to your FM radio within the frequency: 88MHz-108MHz
- Easy to solder.
- A learning FM transmitter/microphone DIY kit for electronics beginners.
- This product is a DIY kit, not an end product! This soldering project requires basic electronic knowledge and hands-on ability.
- Transmission range: 10-50m.
- A fun project for children. Can be used as karaoke or in a classroom to broadcast a message.
56 in stock
Description
Transmission range: 10-20meters
Battery: 1.5V (AA size)
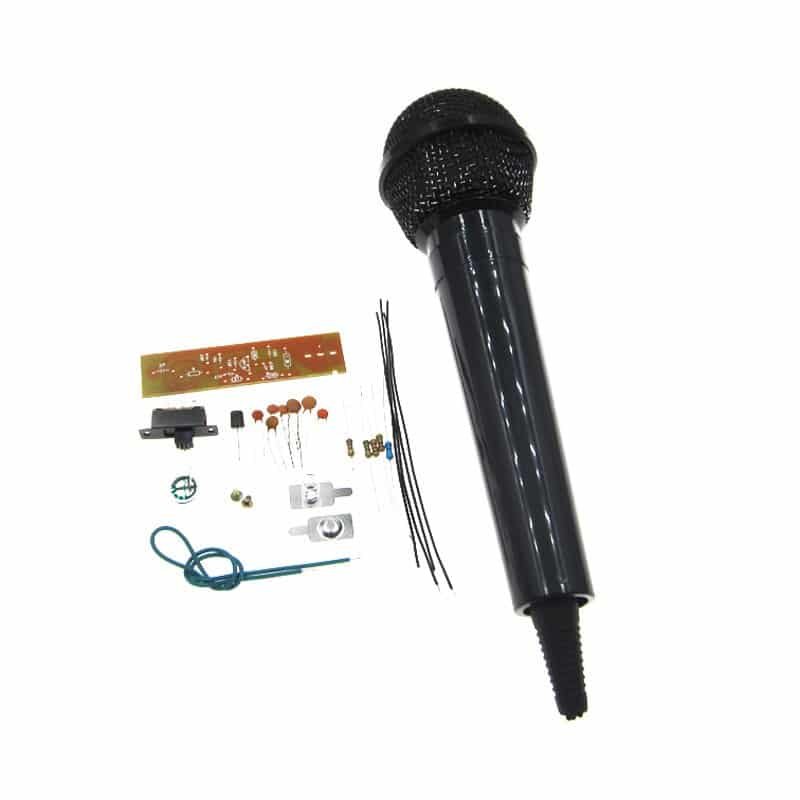
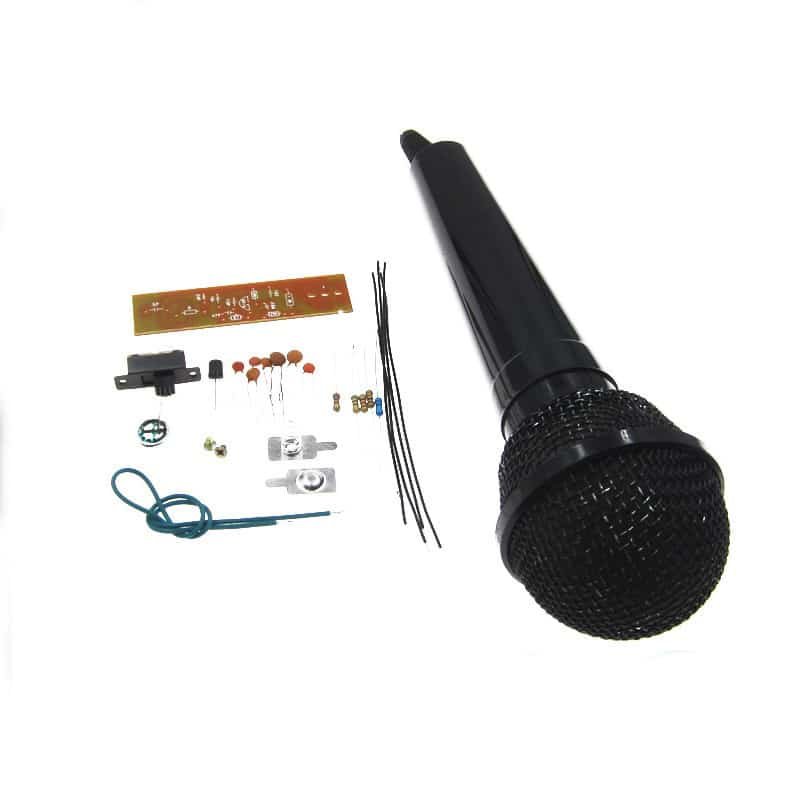
This is yet another basic FM transmitter/microphone project for FM transmitter enthusiasts and electronics hobbyist. This is different from other FM transmitters because it has a casing and it gives a professional look to the project. It can transmit your voice to an FM radio up to a distance of 20 meters. Transmission of the voice depends upon a lot of factors, for example, the length of the antenna, FM receiver, and test environment. Basic soldering skill is enough to build the microphone. The silkscreen labels are enough to guide you through soldering.  Features:
- The inductor is built on the PCB. We don’t need a separate inductor for this microphone.
- Transmission range: 10-20 meters (depending upon antenna length, test environment, power supply, and FM receiver )
- Voice transmission only: Transmits voice signal only. If you want to transmit audio signals also, please check other transmitters.
- First test: You can test the transmitter immediately after you assemble it. You can use any general FM radio. You can test it inside a room.
- Frequency range: 88Mhz-108Mhz. Keep on tuning your FM radio until you hear a feedback noise.
- Antenna: if you use 20cm wire as an antenna, it can transmit up to 10m. With 40cm, it can transmit up to 20 meters and with a 60 cm long antenna, you can transmit up to 50 meters.
- Operating voltage: 1.5V.
- Receiver Devices: General FM radio/cellphone which has FM radio function.
Assembly tutorial: NOTE: You will need at least 4 pieces of 15-20cm long wires. The wires provided in the kit package are quite short.
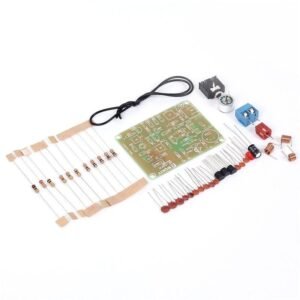
Components included in the kits package:
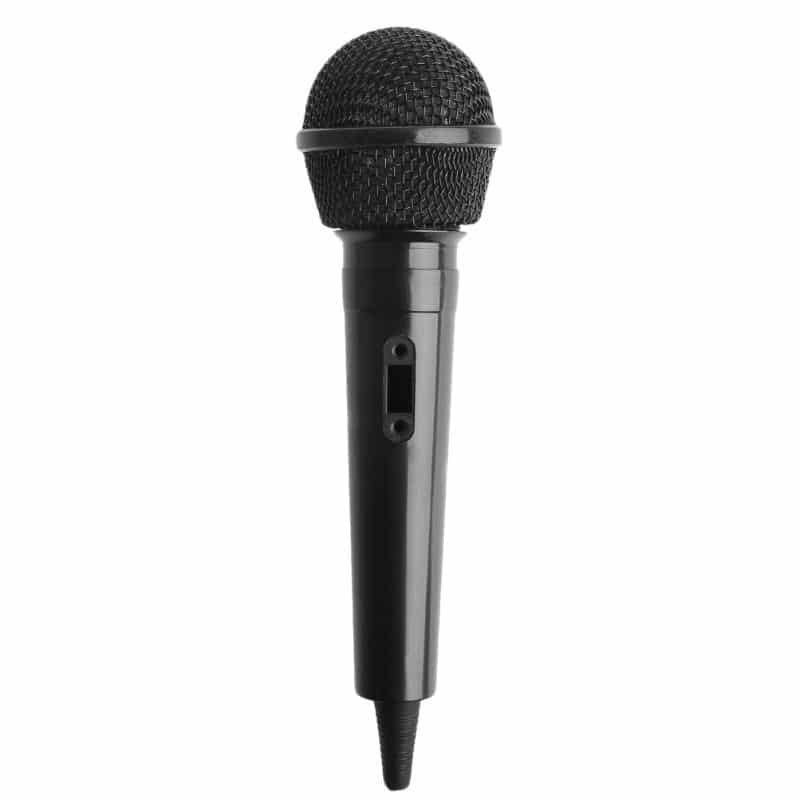
- 1 x casing set for the microphone
- 1 x battery holder to be kept inside the casing
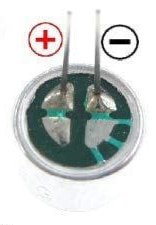
- 1 x Electret microphone
- 1 x switch
- 1 x 1.2K Ohm resistor
- 1 x 20K Ohm resistor
- 1 x 36K Ohm resistor
- 1 x S9014 transistor
- 1 x 51 Ohm resistor
- 1 x 24pF capacitor
- 1 x 10pF capacitor
- 1 x 47pF capacitor
- 1 x 5pF capacitor
- 1 x antenna wire
- 1 x 0.1uF (code: 104) capacitor
- 1 x 0.001 (code: 102) capacitor
- 1 x 0.01uF (Code: 103) capacitor
What do you need to arrange yourself ?
- 4 pieces of 10-20cm wires. The wires included in the kit package can be short.
- 1.5V AA size battery
- Any FM radio with telescopic antenna.
Didn’t work? This is how you troubleshoot.
- Are the components soldered at their correct spots? Please check.
- Look at the back of the PCB, make sure there is no short.
- The electret microphone polarity could be wrong.
- Check if the battery holder is soldered properly.
- Check if you inserted the battery in the right way.
- Did you turn on your FM receiver ?
If the transmitter is working, you will hear a feedback noise.
🛠️ Dive into our collection of DIY Kits, 🔊 Audio Amplifiers, Digital Scoreboards, FM transmitters, and more!
🎶 Explore endless possibilities at our new store.

Related products
-
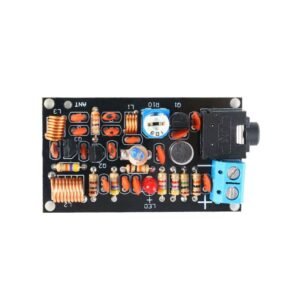
Type 1- Long range DIY FM transmitter with 3 transistors and 3 inductors
$11.95 Checkout in our STORE -
Type 2- Long range DIY FM transmitter with 3 transistors and 3 inductors
$8.50 Checkout in our STORE -

Single transistor DIY FM transmitter with an enclosure.
$5.50 Add to cart -

Mini FM short range transmitter module
$5.50 Add to cart
