Infrared sensor with PWM
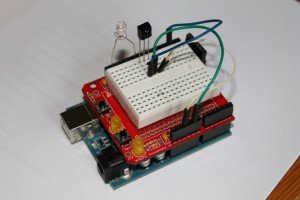
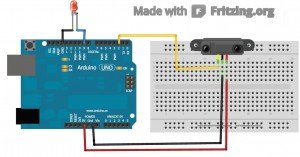
Description: In this project, Arduino first encodes the remote signals and decodes them to control LED brightness. First of all, connect the Infrared sensor as shown in the picture below. Then, press keys 0 through 4; Arduino stores the values for keys 0 through 4 and when the sketch runs, key 0 turns off the LED and the brightness of the LED increases in steps when keys 1 through 4 are pressed.
Connect LED to PIN 9 and connect output PIN of Infrared sensor to PIN 2. HOW TO USE INFRARED SENSOR ?
If you have never worked with Infrared, please try these projects first:
a. Basic Infrared remote tester.
b. Infrared remote tester using Arduino.
This project uses the IR remote library from http://www.arcfn.com/2009/08/multi-protocol-infrared-remote-library.html.
OR, you can directly download the library from the following link: http://arcfn.com/files/IRremote.zip
COPY THE SOURCE CODE FOR THIS EXPERIMENT OR DOWNLOAD
WATCH THE VIDEO:
 This work is licensed under a Creative Commons Attribution-NonCommercial 3.0 Unported License


