How to assemble serial LCD kit
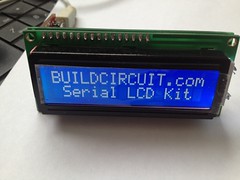
You can use this kit for displaying serial messages from Arduino. The kit is itself a programmable Arduino board that comes with ATmega328p. You just need to upload a serial LCD firmware to the ATmega328p chip of the kit and your kit is ready to display serial messages from Arduino. Read everything about the kit and serial LCD firmware from here.
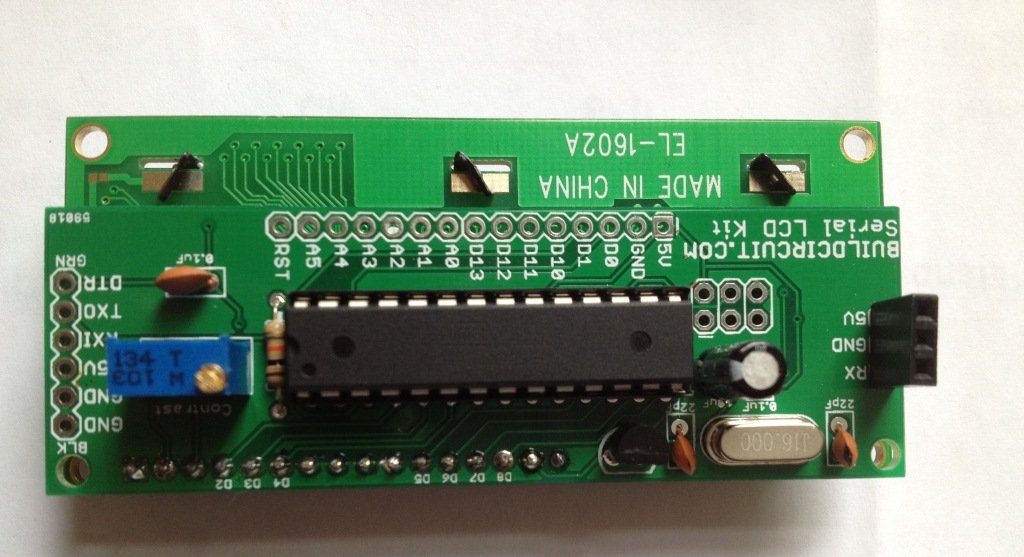
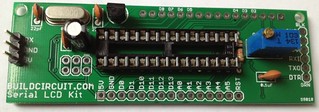
Checkout the PCB:
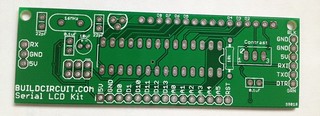
On the PCB, you can see that the names and polarity of components have been labeled. Therefore, there should not be any confusion while assembling the kit.
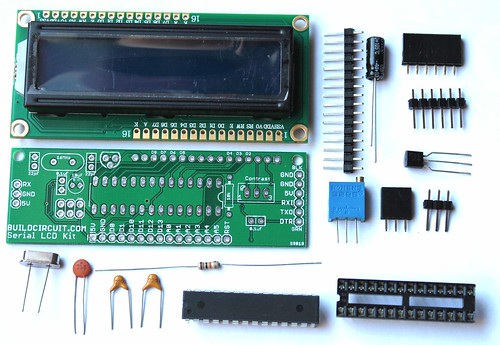
With the Serial LCD kit package you will get the following components:
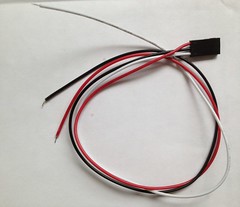
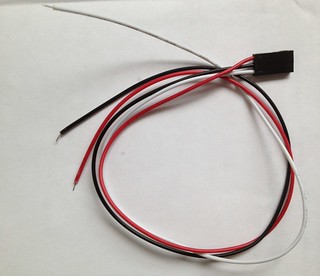
Besides, you will also get a 3-pin connector wire:
Procedure for assembling the kit:
Step 1: Start with a 16Mhz crystal oscillator and 2pcs of 22pF capacitors. Fix them on the PCB.
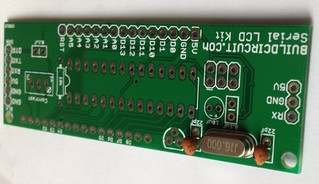
Step 2: Fix a 10K resistor also.
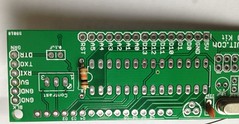
Step 3: Fix 2pcs of 0.1uF capacitors.
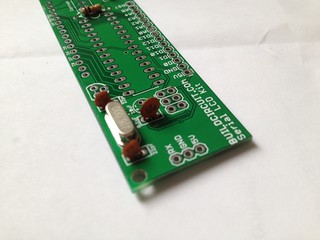
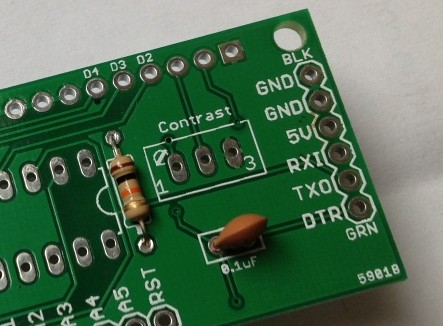
Step 5: Fix a 10uF electrolytic capacitor.
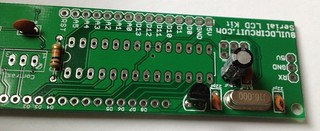
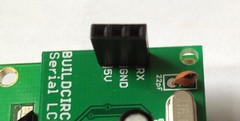
Step 6: Fix 10k variable resistor and 28-pin DIL socket. For RX, GND and VCC pin, you can fix a 3 pin male or female header. If you are using a 3 pin connector wire, you can fix a male header.
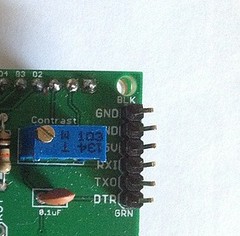
Step 7: Fix 6-pin male/female header for connecting FT232RL FTDI breakout board.
For example, if you have following breakout board from Sparkfun.com, you may fix a 6-pin male header on your PCB.

Step 8: Fix 16×2 LCD.
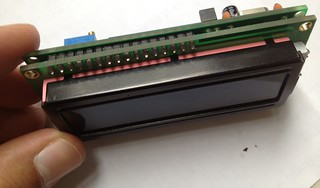
Step 8: Insert ATmega328p chip that has serial LCD firmware in it.
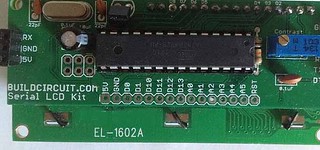
The kit is itself a programmable Arduino board, therefore, you can use an FTDI breakout board to program the ATmega328p chip.
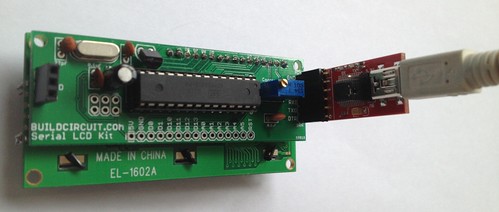
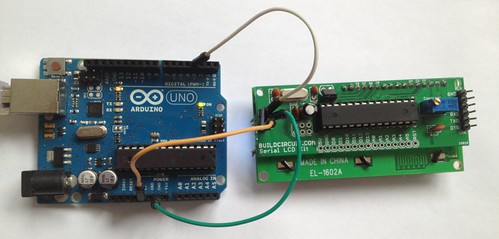
The kit is now ready to use. You can connect the kit to your Arduino as shown on the image below:
You may now send serial messages to your Serial LCD kit.
Adjusting contrast:
You can use a small screw driver to adjust contrast level of the LCD.
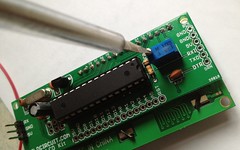
Checkout the video below:
First, upload this code to your ATmega328p chip of of Serial LCD kit and then upload the following sketch to your Arduino board. Checkout the output of this sketch on OUTPUT tab.
Resources:
- Serial LCD Kit Schematic
- Serial LCD Kit Firmware (github)
- Serial LCD Kit Command List (github wiki)
- NewSoftSerial Library – Required for the example sketches. Sets up a second (third, fourth,…) serial port on the Arduino.
- Serial LCD Kit Passthrough Example Sketch – Send any character from the Arduino’s serial monitor to the LCD.
- Serial LCD Clock Example Sketch – Displays a digital clock on the Serial LCD. This is a good example of how to use special commands, like clear, with the display.
- Eagle File- Modified by BuildCircuit- Download
- Eagle Fie- Original
Buy Serial LCD kit on www.buildcircuit.net.


