


DIY KIT 17- DIY ZIF Arduino programmer

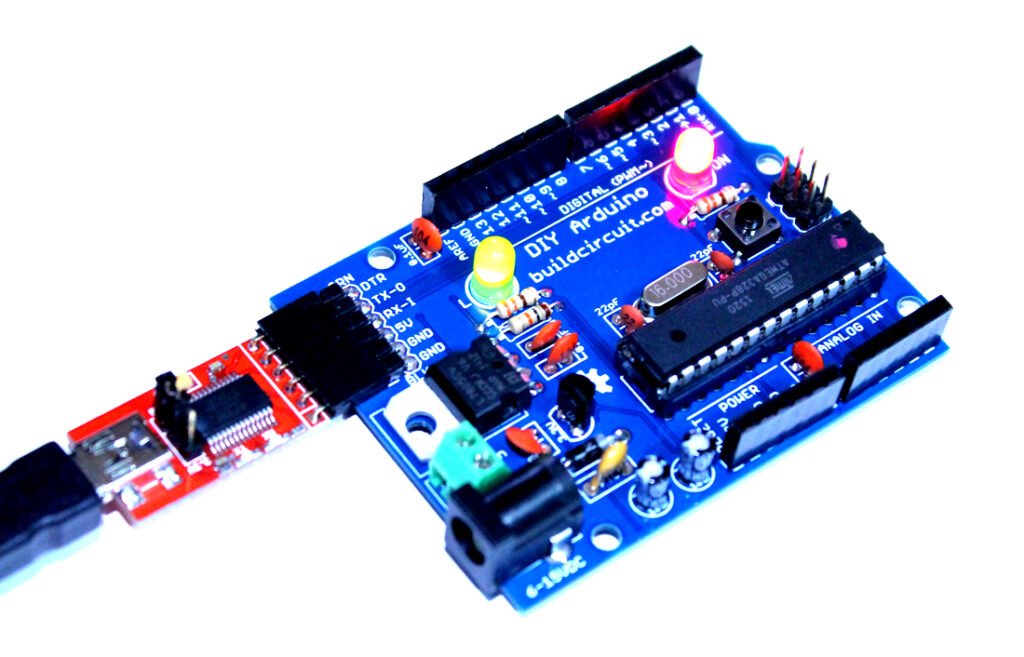
It is just another ‘build your own Arduino’ project. BuildCircuit has worked on similar projects before. The most popular project is a DIY Arduino kit. The DIY Arduino looks similar to the real Arduino boards and uses an FTDI basic programmer to program the chips.
See all the good images of the kit.


I received these components from my supplier. It has everything to build the ZIF Arduino programmer.

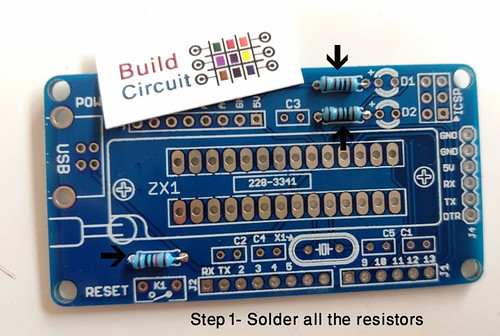
Step 1: Solder all the resistors first. There are 3 resistors.
Step 2: Solder the 2pcs of 22pF ceramic capacitors.

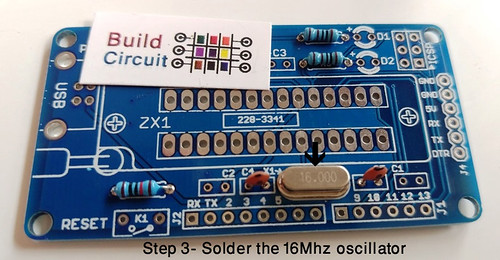
Step 3: Solder the 16Mhz crystal oscillator
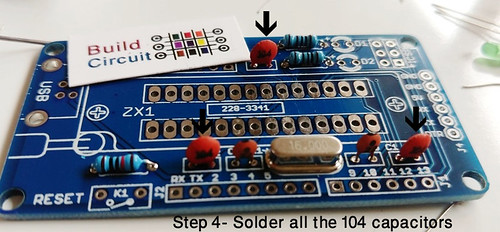
Step 4: Solder all the 104 ceramic capacitors.
Step 5: Solder the reset switch

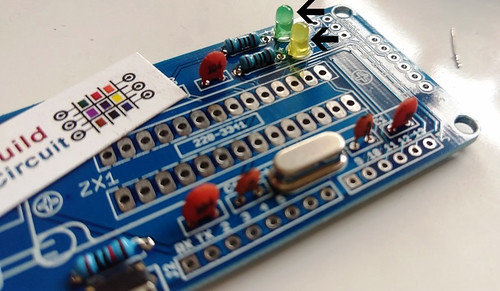
Step 6: Solder all the given 3mm LEDs
Step 7: Solder the 6 pin male header for FTDI

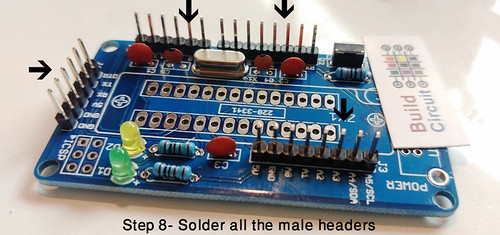
Step 8: Solder all the male headers. These male headers give access to analog and digital ports of Arduino chip. And the J4 header is for connecting FTDI basic module.
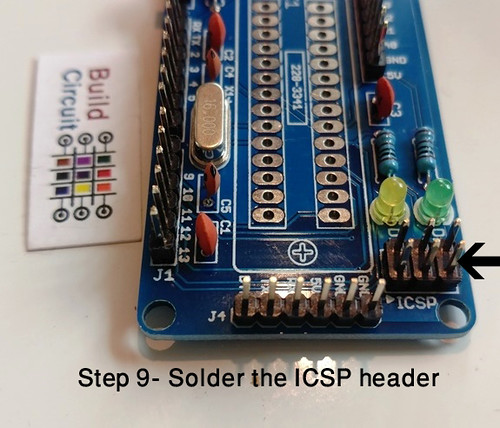
Step 9- Solder the 6 pin ICSP header
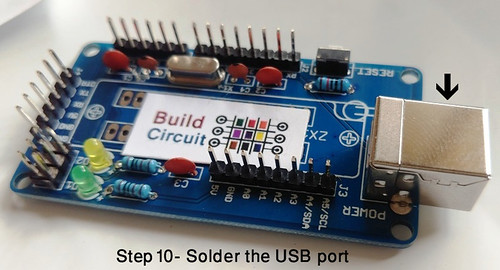
Step 10- Solder the female USB type-B socket
Step 11- Solder ZIF socket and insert ATmega328P

You can buy BuildCircuit’s DIY Arduino kit at www.buildcircuit.net
See all the good images of the kit.
🛠️ Dive into our collection of DIY Kits, 🔊 Audio Amplifiers, Digital Scoreboards, FM transmitters, and more!
🎶 Explore endless possibilities at our new store.


