Assembly Tutorial of Amarino Nano 1.0
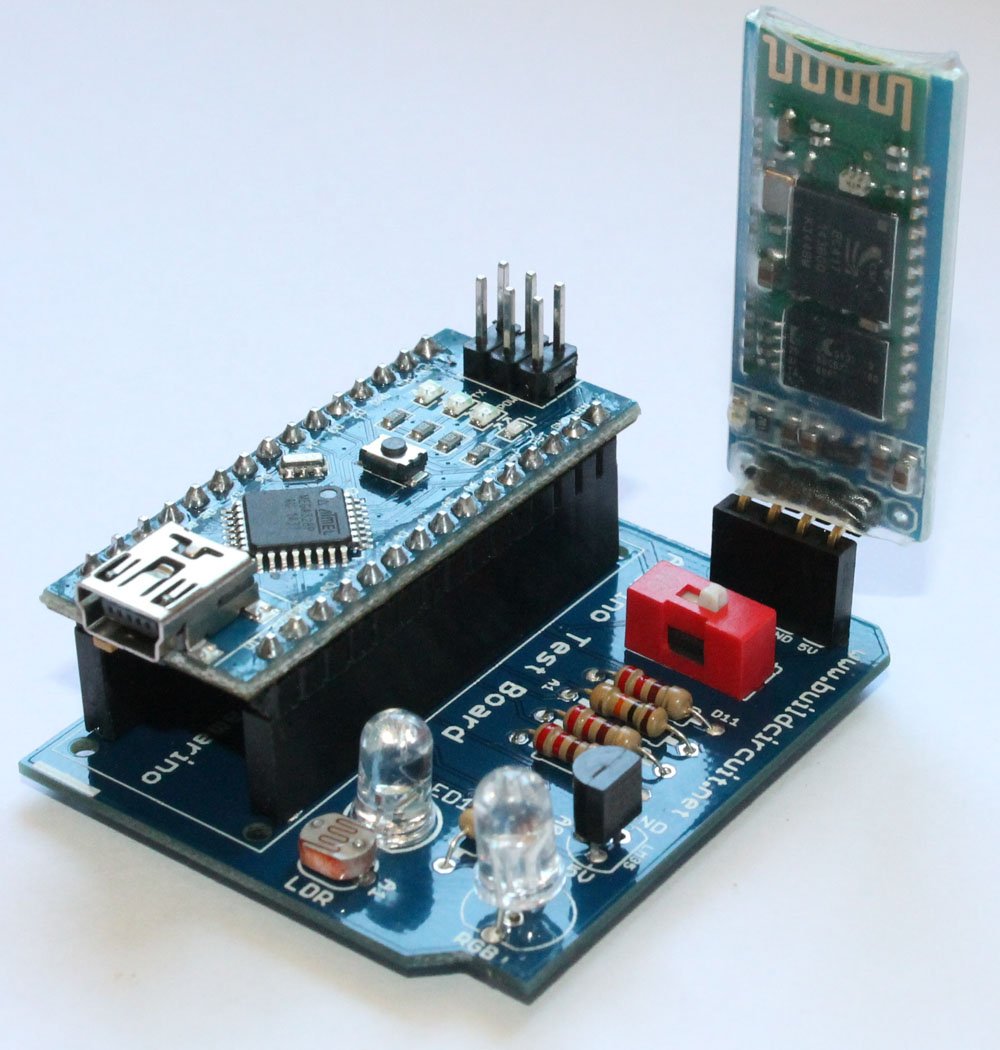
Please visit this page first to know about Amarino Nano.
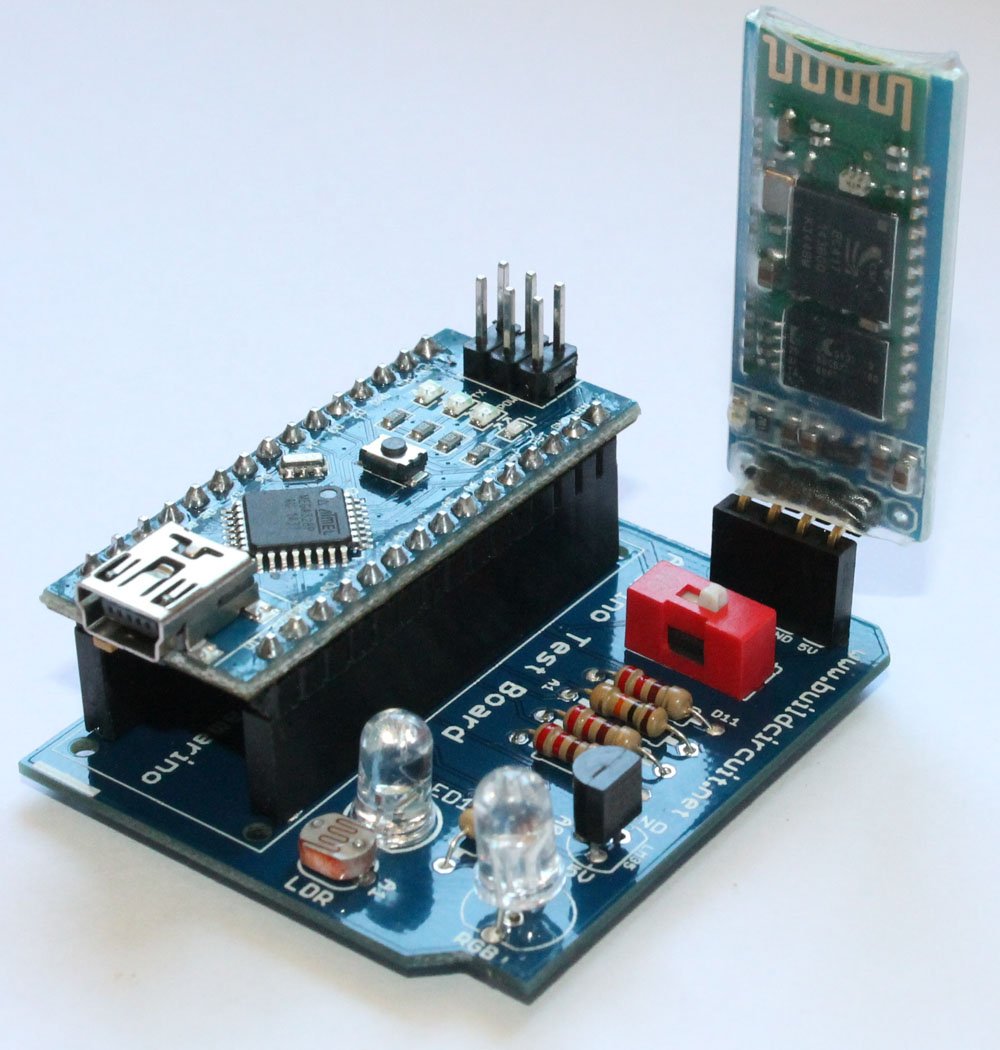
Assembly process of this kit is very easy. If you have basic soldering knowledge, you can assemble the board within half an hour.
You can directly visit BuildCircuit’s Flickr page and see all the assembly steps.
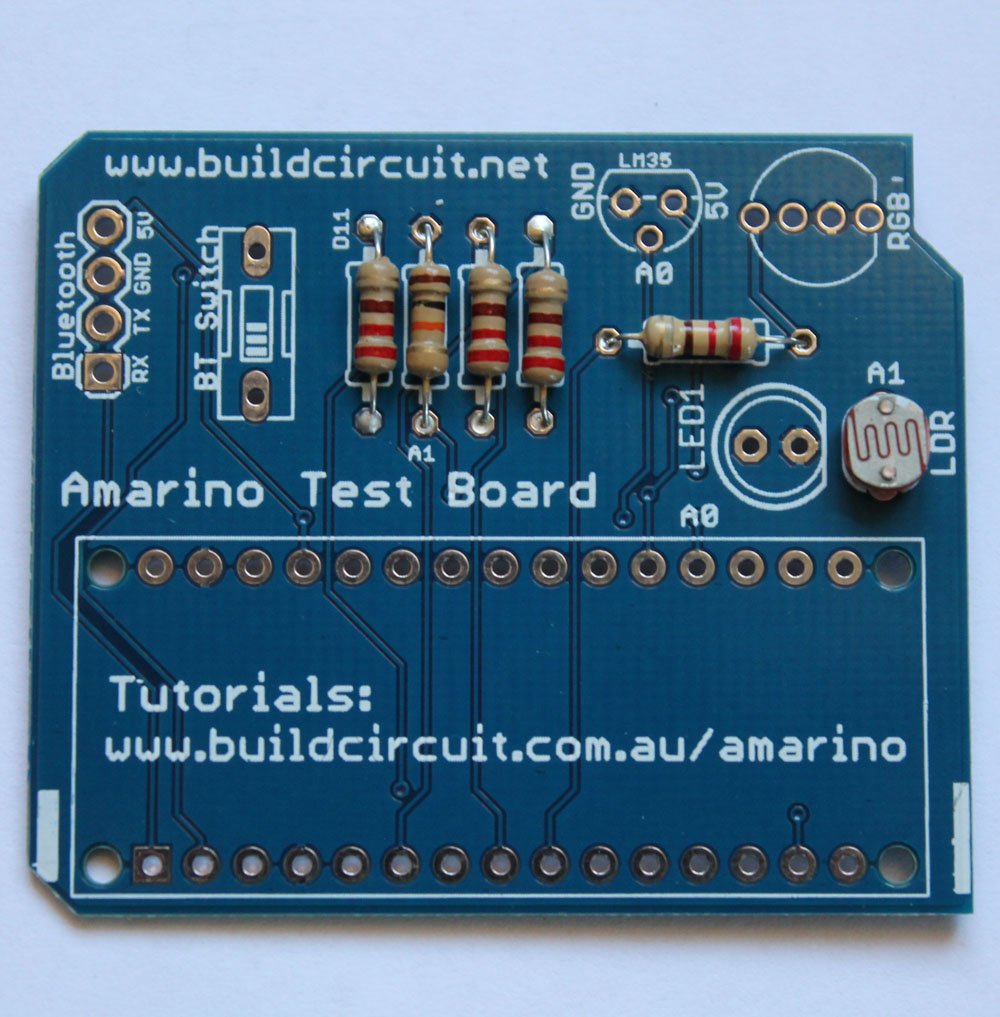
If you look at the PCB, you will see that the silkscreen labels are enough to guide you to solder the components properly.

Before you start, make sure that you have all the required components.
Here’s the list of components:
- 1 x Arduino Nano
- 1 x Bluetooth adapter
- 1 x Amarino Nano PCB
- 2 x 15 pin female headers
- 1 x 4 pin female header
- 1 x Red Color 1P DIP switch
- 1 x LM35DZ temperature sensor
- 1 x 5mm LED
- 1 x RGB LED- common cathode
- 1 x photo resistor
- 4 x 220 Ohm resistor
- 1 x 10K Ohm resistor
Now, follow these steps:
1. Always start with the small components. So, solder all the resistors first. Solder 220 Ohm resistors.
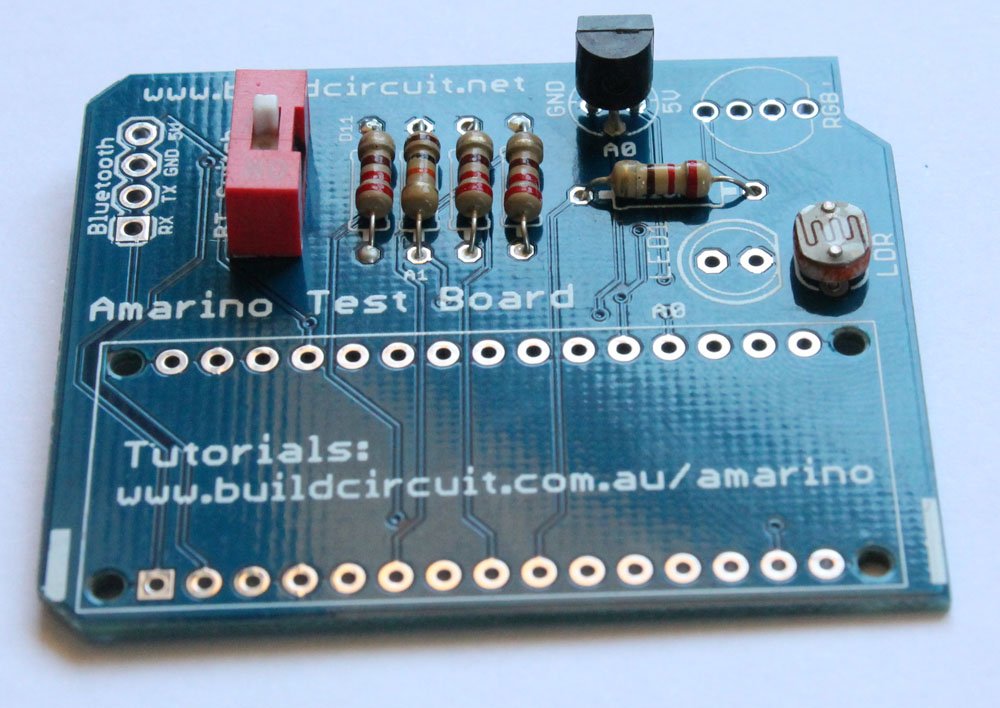
2. Solder 10K Ohm resistor and the photo resistor
3. Solder LM35DZ temperature sensor.
4. Solder 1P DIP switch, the one in RED color. This switch has to be turned off while uploading the Arduino sketch.
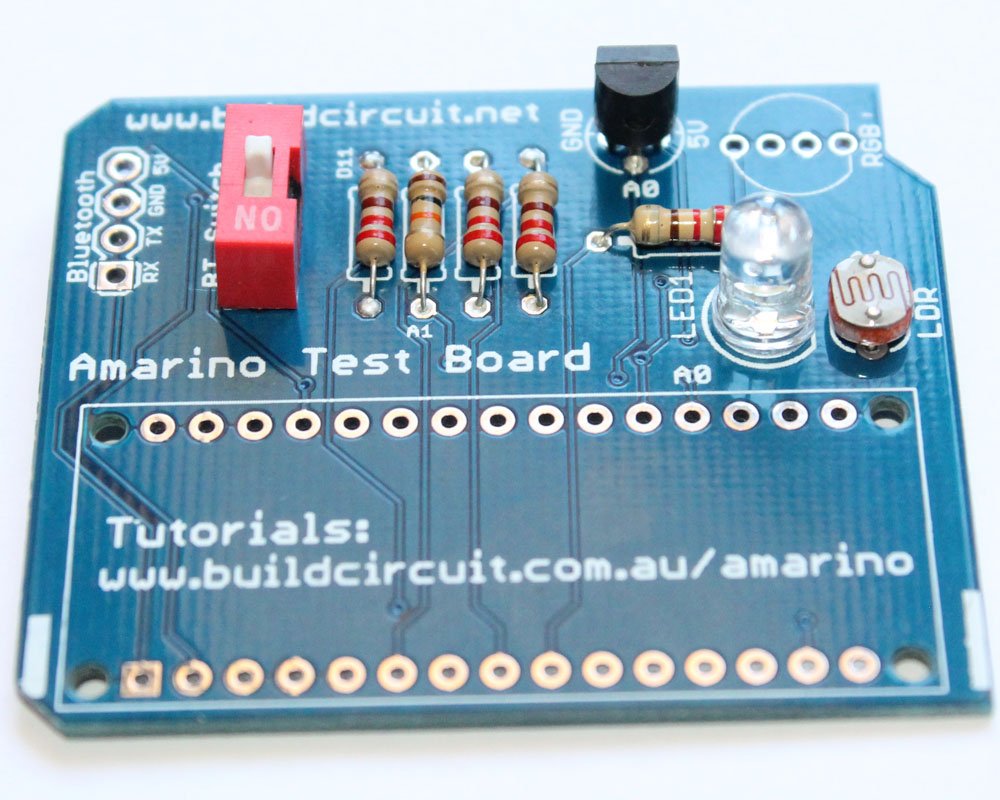
5. Solder 5mm white LED
6. Solder common cathode RGB LED
7. Solder 4 pin female header for Bluetooth module. 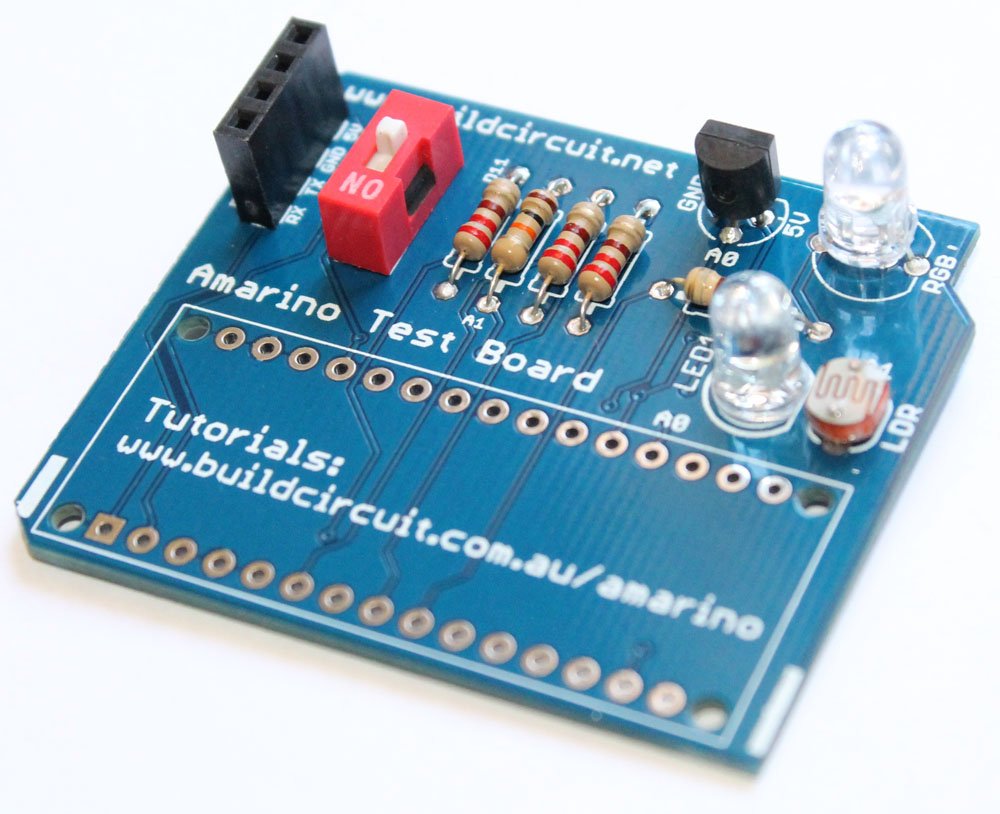
8. Solder 2pcs 15 pin female header to stack the Arduino Nano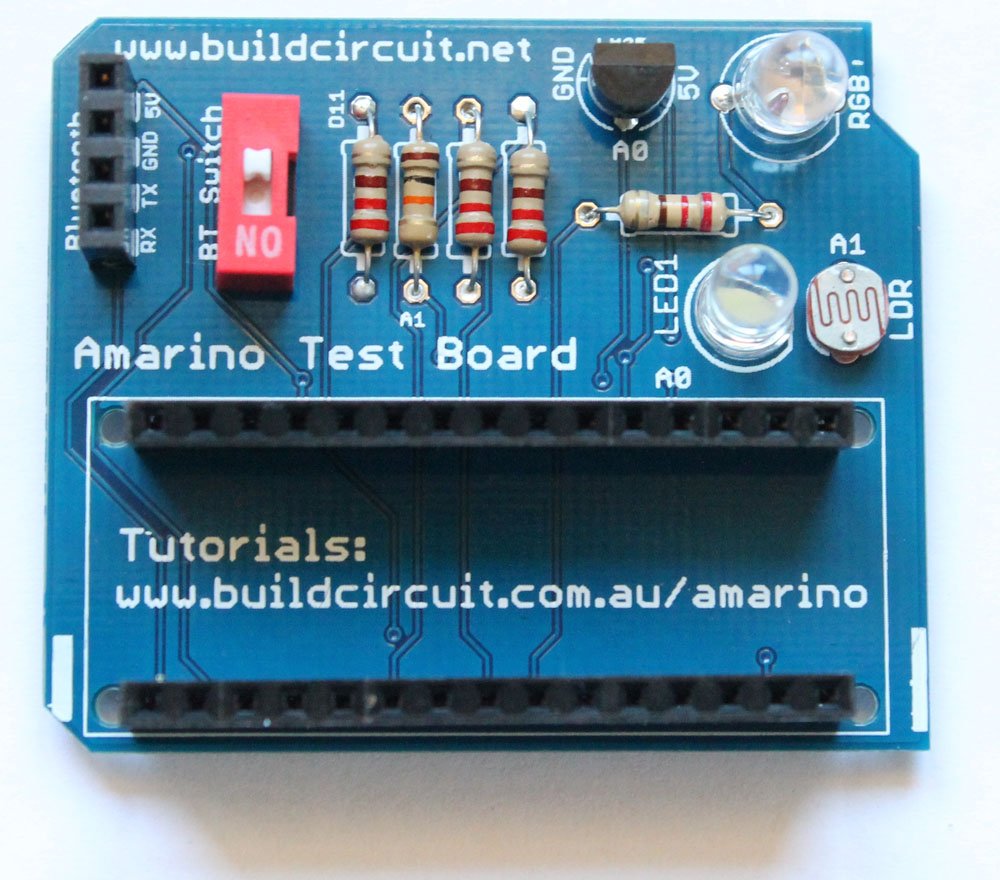
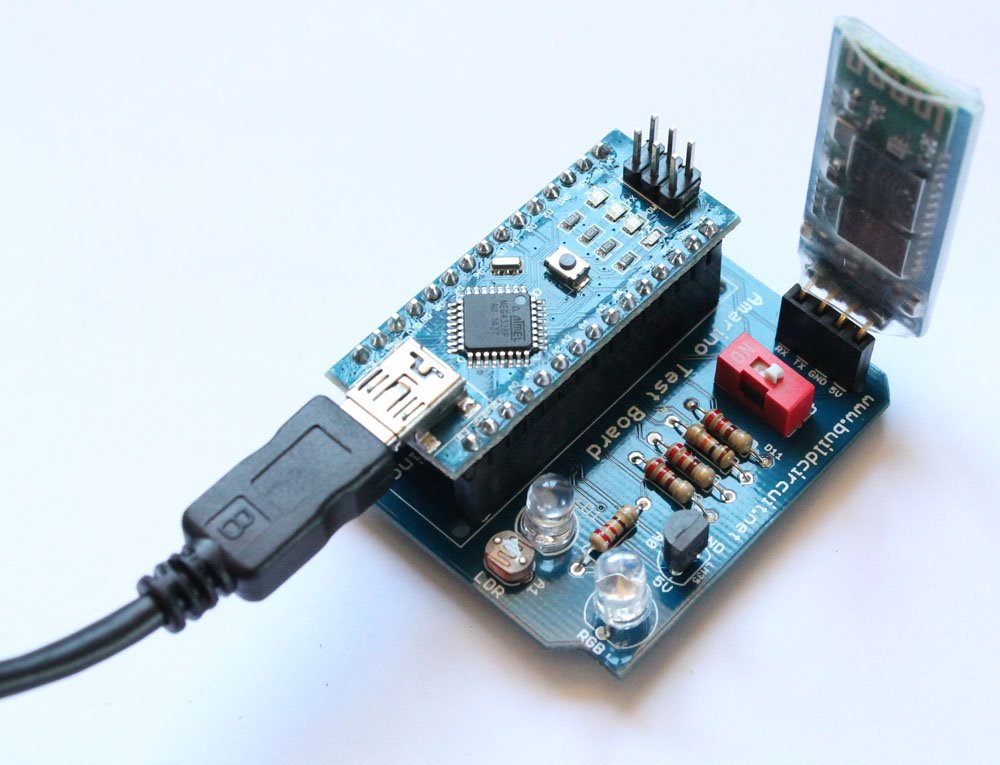
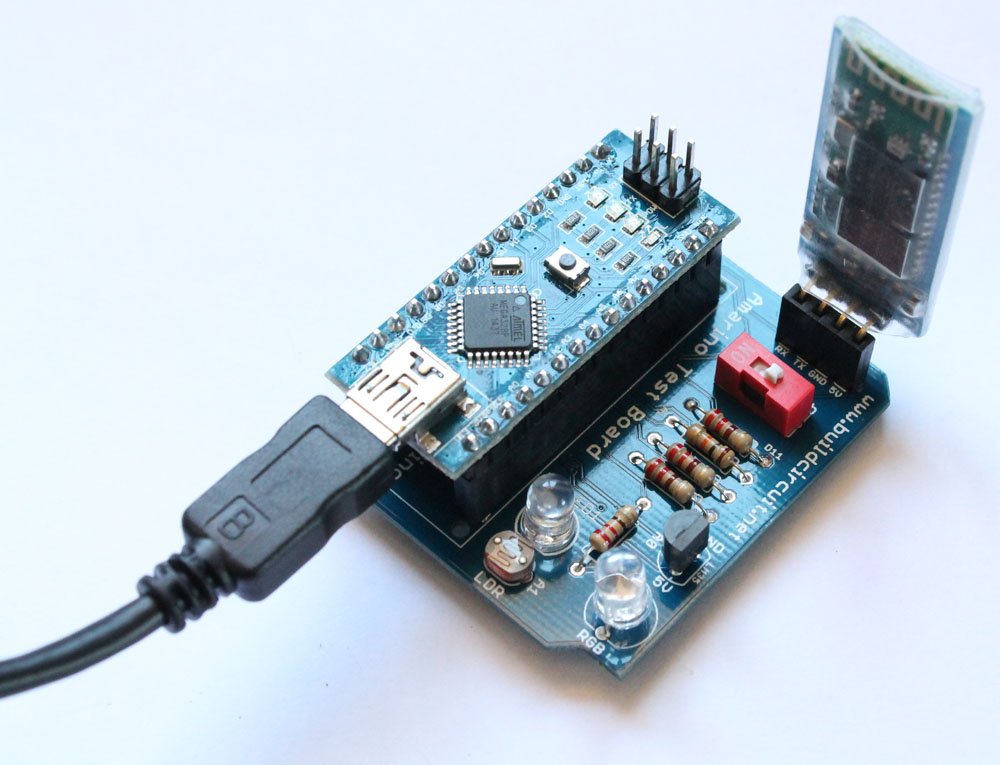
9. Stack the Bluetooth module and the Arduino Nano on the correct female headers. Your Amarino Nano board is ready to use. Visit this page for experiments.
10. Connect a mini USB cable to operate the kit.
See the following links:
2. Experiments with Amarino Nano 1.0– You will get all the Apps and Arduino sketches on this page.
Where can you buy this kit ?
The kit is available at BuildCircuit Store (www.buildcircuit.com.au- Free Shipping in Australia)


