How to use Nokia N900 and Arduino for controlling electronic devices

Here’s a very simple program to display some characters/strings on 16×2 LCD using Nokia N900 terminal and arduino.
You will need following devices for this experiment.
a. Nokia N900
b. Atmega328 chip
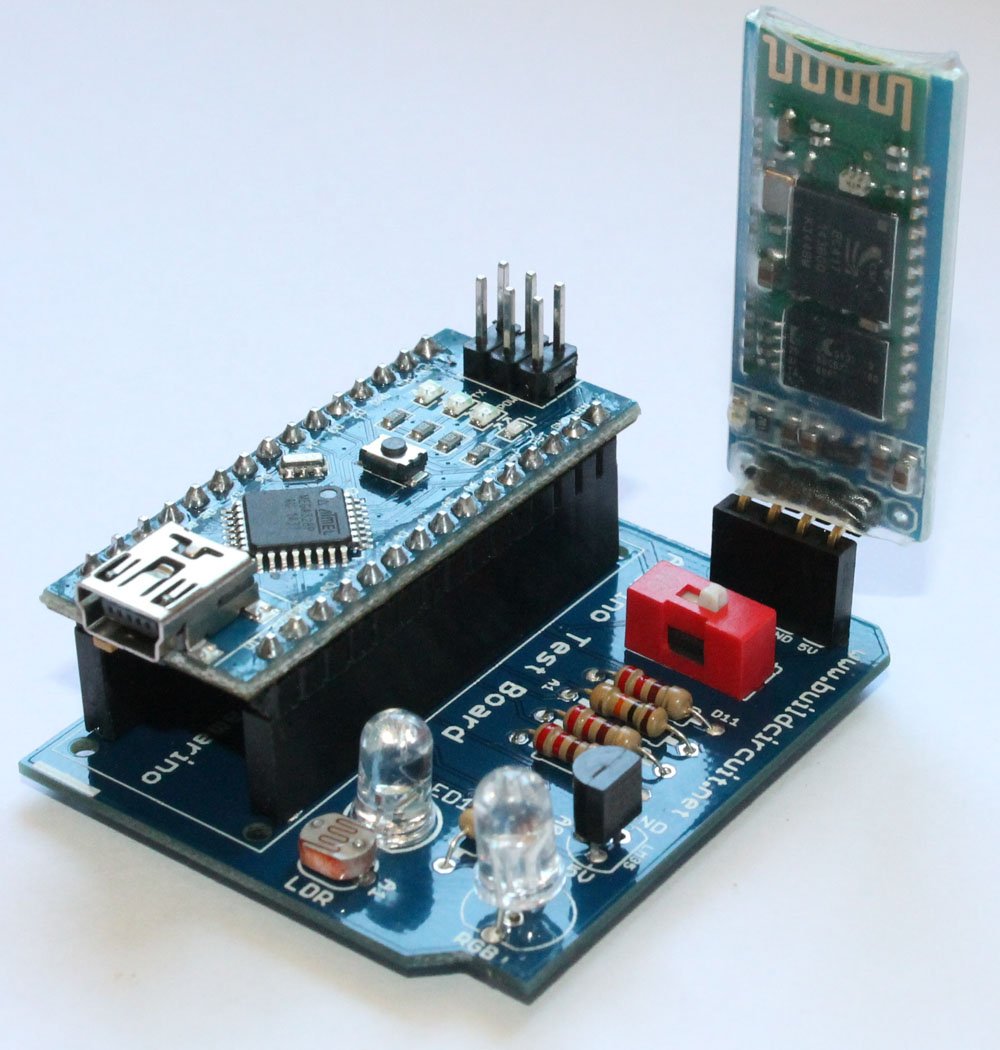
c. Blue Smirf Bluetooth Module
d. 16×2 LCD
Arduino Side
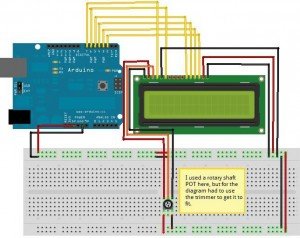
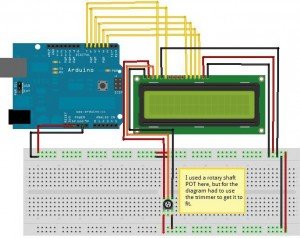
Step 1: Make Arduino programmer on breadboard- CLICK HERE. On this page, you will see how to connect LCD to arduino.
Step 2: Change the Baud Rate of Bluesmirf Bluetooth Module- CLICK HERE
Set the baud rate to 9600. Otherwise, you won’t be able to connect Nokia N900 to arduino.
Step 3: Connect TX and RX pins of Bluetooth module to RX and TX pins of ATmega328 chip.
CTS-I <=> RTS-O
GND<=> GND
VCC<=>3.3V or VCC of arduino
Step 4: Upload the following sketch to the Atmega328 Chip:
OPTIONAL LINK1
OPTIONAL LINK2
(DO NOT CONNECT BLUETOOTH MODULE WHILE WRITING THE CODE. After the code is uploaded on the chip, Bluetooth module can be connected. Otherwise, it will show error)
If you want to make this circuit on Arduino instead of bread board, then follow the given circuit configuration:
Connect LCD to Arduino:

Then connect the Bluesmirf module to Arduino as follows:
Vcc- 3.3V or Vcc, GND-GND
TX- arduino RX and RX-arduino TX
RTS-O to CTS-I
– Upload the Arduino sketch given above.
Don’t forget to set the baud rate of Blue SMiRF module to 9600. Click here to read more.
Nokia N900 Side
First all, activate the bluetooth of your Nokia N900 mobile
Step 1: Download and install rootsh program on your phone.
Step 2: Open X-terminal and execute following commands:
$ sudo gainroot
then you will get /home/user #
Then type:
/home/user # hcitool scan
You will see information about your Bluetooth module. You can get the MAC address of your Bluetooth module.
/home/user # vi /etc/bluetooth/rfcomm.conf
Add the lines below:
rfcomm0 {
# Automatically bind the device at startup
bind yes;# Bluetooth address of the device
device 00:06:66:02:74:B6;//put the MAC address of your bluetooth module
# RFCOMM channel for the connection
channel 1;# Description of the connection
comment “Arduino”;
}To quit, press ESC on your mobile screen and type :wq
Step 3: /home/user # rfcomm – r connect 0 80:06:77:88:99:CD 1
(In place of 80:06:77:88:99:CD, you have to type MAC address of your own bluetooth module.)
You will get this message: Connected /dev/rfcomm0 to on channel 1
CTRL-C for hangup
Then, type Ctrl- and then Ctrl-C. That will give you message:
Stopped
rfcomm -r connect 0 1
Step 4: Now send some message to Serial port with the following command:
/home/user # echo Hello World > /dev/rfcomm0
This command will send text ‘Hello World’ to Arduino and you will see it on 16×2 LCD.
Extra exercises
Type the following commands and see the results:
a. /home/user # sdptool records 00:07:63:02:73:B4 (type your bluetooth MAC address)
b. /home/user # cat /etc/bluetooth/rfcomm.conf
c. /home/user # rfcomm bind
d. Upload the code given above: bluetooth_and_Nokia_N900
Then, type following commands:
/home/user # rfcomm – r connect 0 80:06:77:88:99:CD 1
[Write you own MAC address]
You will get this message: Connected /dev/rfcomm0 to on channel 1
CTRL-C for hangup
Then, type Ctrl- and then Ctrl-C. That will give you message:
Stopped
rfcomm -r connect 0 1
Then type
/home/user # cat /dev/rfcomm0
As soon as you type this, you will be able to see a sequence of numbers on your Mobile terminal as well as on terminal of Arduino environment.
Then, press Ctrl-z
open your arduino Terminal window and type this command on phone:
/home/user # echo hello > /dev/rfcomm0
You will see this:
You will also get I received: hello on your phone.
Enjoy!Here’s a very simple program to display some characters/strings on 16×2 LCD using Nokia N900 terminal and arduino.
Step 1: strong/strongstrongstrongstrongspan style=”color: #000000;”Here’s a very simple program to display some characters/strings on 16×2 LCD using Nokia N900 terminal and arduino.
received: hello
pp/strong


i like this post
Very Nice. Thank you..!