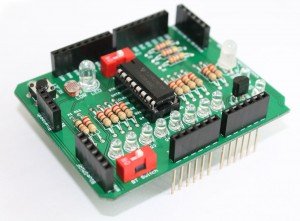
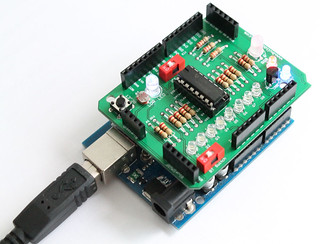
Assembly instructions for Amarino 3.0 DIY shield
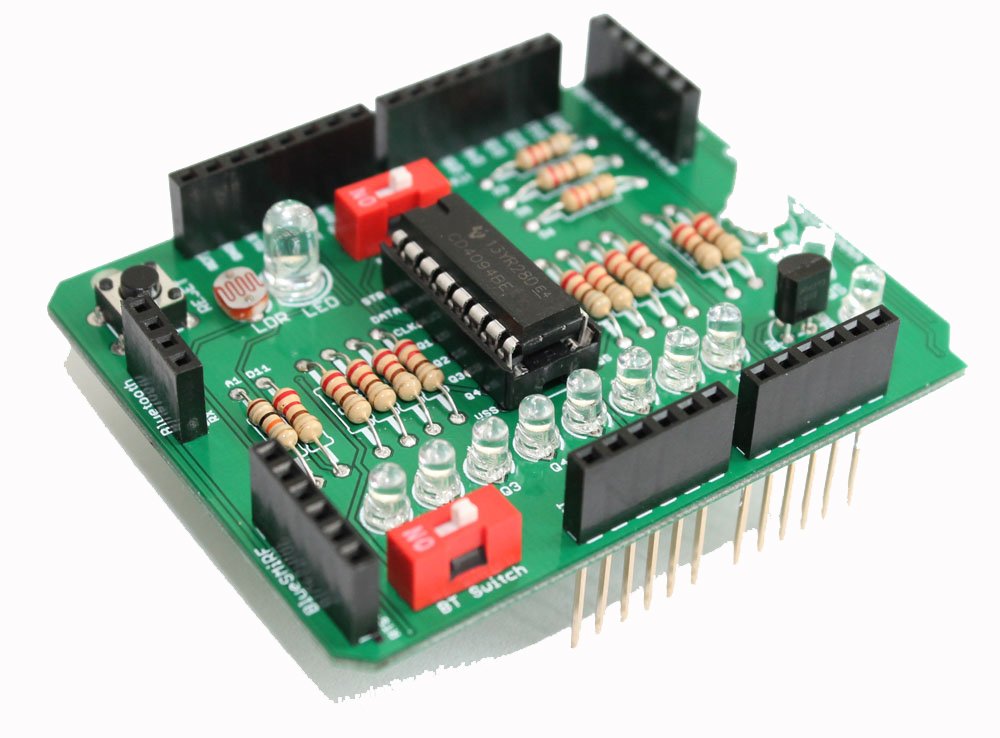
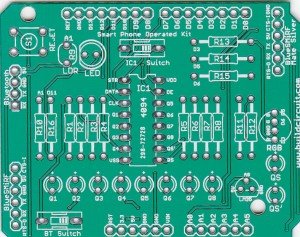
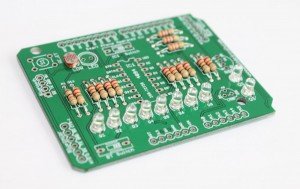
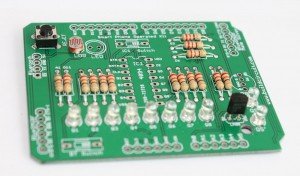
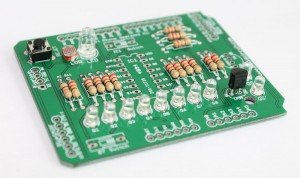
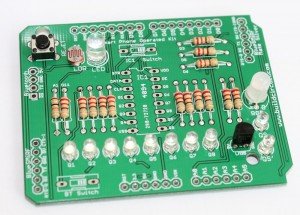
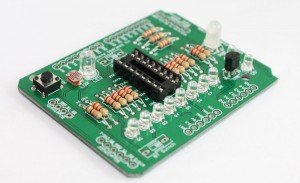
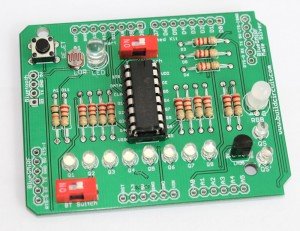
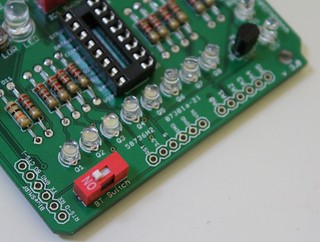
This post gives you the idea for assembling the Amarino shield. To get full details about this shield, CLICK HERE. When you buy the kit package, you will get the following PCB. The PCB clearly shows the pin and component names, so, it should help you to get idea of connections of components to Arduino. For example, LDR is connected to A1 and RGB LED is connected is to D3, D5 and D6 and you can see those pins labeled on the PCB.
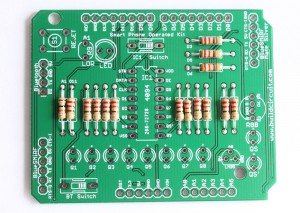
– Start with 220 Ohm resistors. Solder all the 220 Ohm resistors.

Depending upon the types of LEDs, the value of resistors may vary. The LEDs that come with the shield package work perfectly with 220 Ohm. It should also work with 100 Ohm and 330 Ohm resistors.
– Solder 10K Ohm resistor. This resistor connects with LDR. Check out the schematic of Amarino Shield 3.0
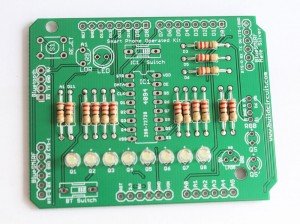
– Solder all the 3mm white LEDs (Q1- Q8).
– Solder the 2pcs of 3mm LED (Qs and Qs’). Fix the light dependent resistor (LDR) also.
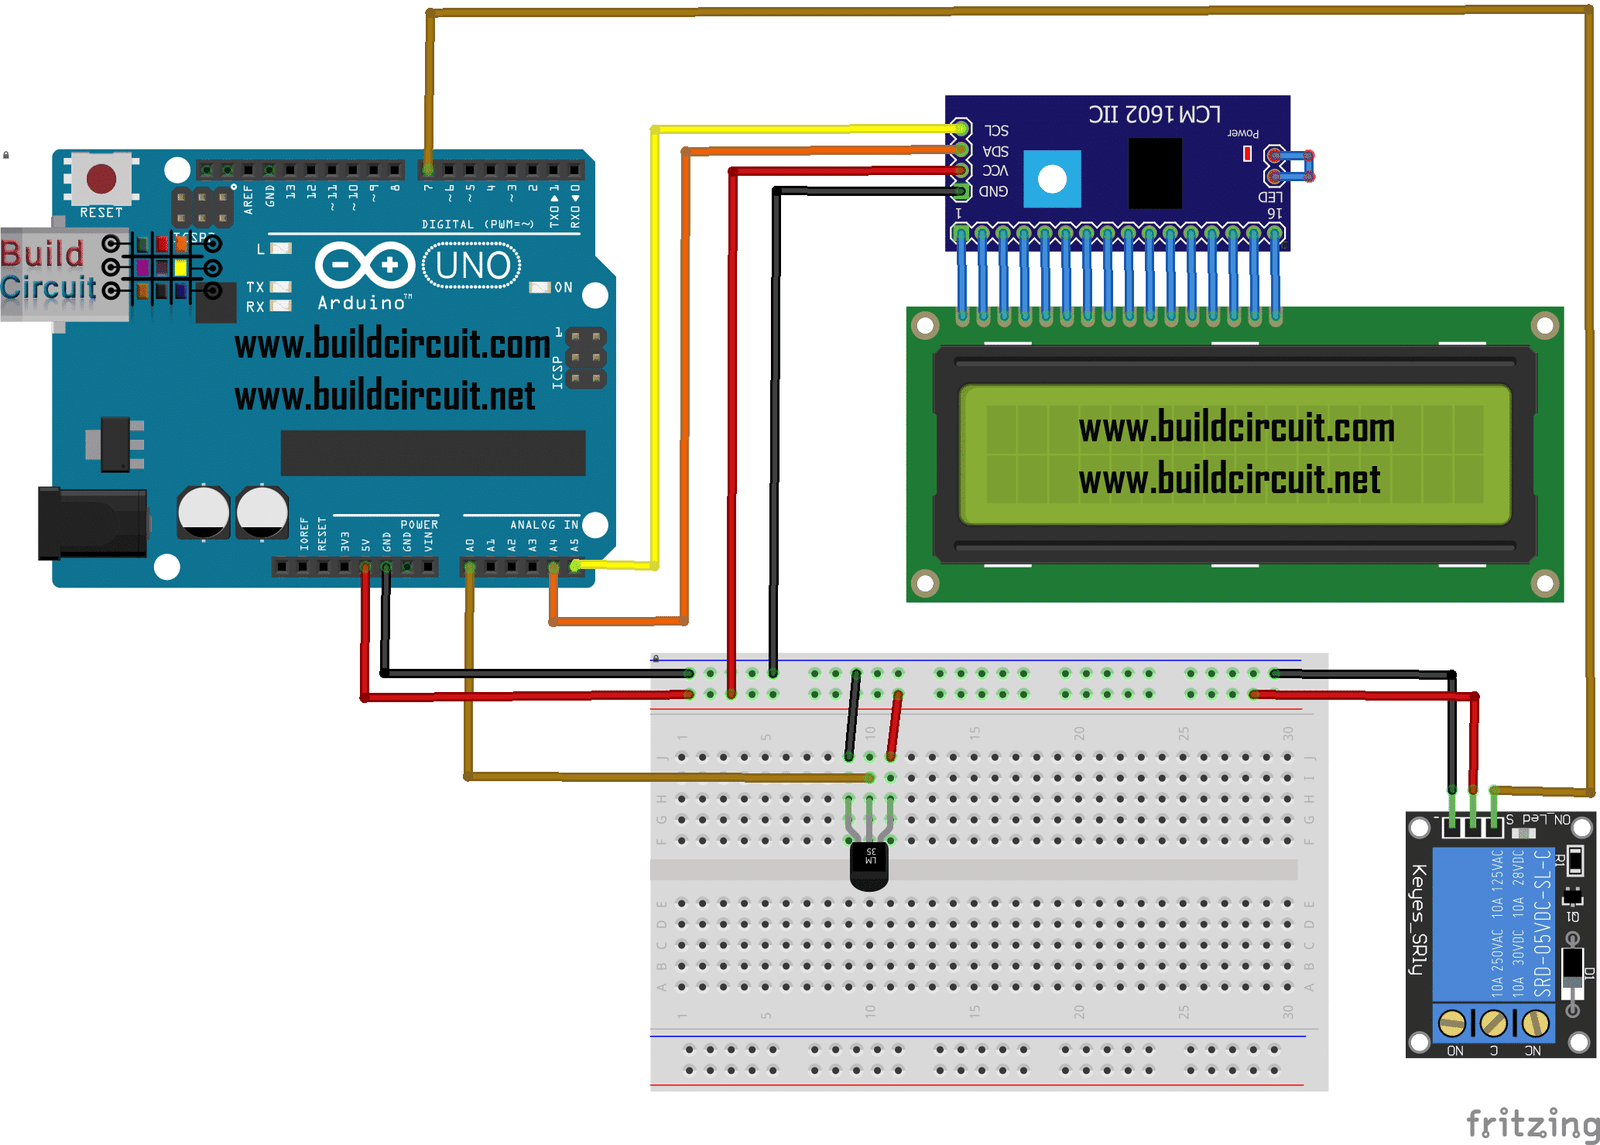
– Solder LM35 temperature sensor. Check out the experiment with LM35.

– Solder the tactile(reset) switch
– Solder 5mm white LED. This LED is there for sensor graph Amarino experiment.
– Solder RGB LED. This RGB LED is used for multicolor lamp Amarino experiment.
– Solder 16 pin DIL socket.
– Stack the CD4094 chip over the DIL socket.
– Solder 2pcs of 1 P DIP switch. One switch controls Bluetooth module and the other controls the CD4094 chip. Check out the schematic of Amarino Shield 3.0
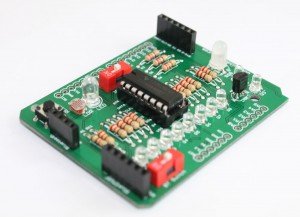
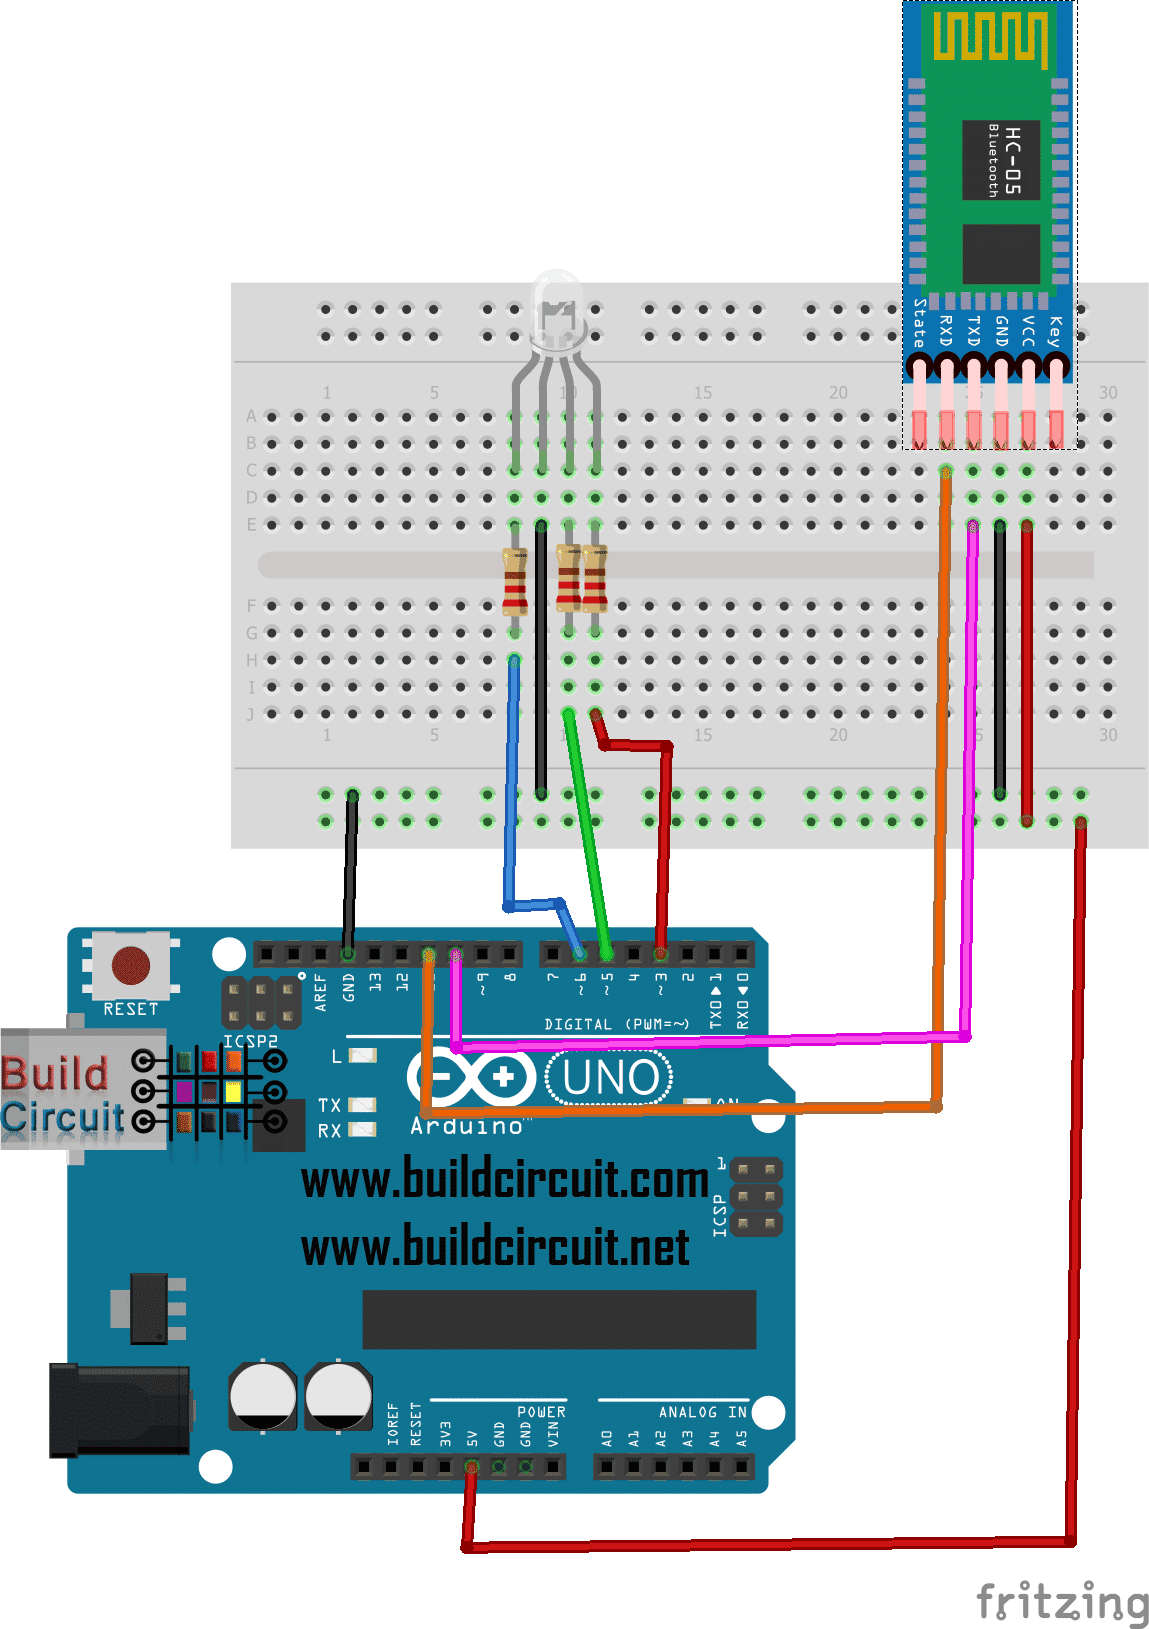
– Solder the 4 pin and 6 pin female headers for Bluetooth modules. The Amarino shield supports 3 different Bluetooth adapters, check out here.
– Finally, solder the stackable header and your shield is ready to use.
After assembling all the components, stack the Amarino shiled over your Arduino and try the following experiments:
- Experiment 1- Basic control over CD4094 without Android phone and serial emulator application
- Experiment 2- CD4094 control using Android phone and Amarino shield
- Experiment 3- Amarino experiment- RGB Lamp
- Experiment 4- Amarino experiment- Sensor Graph with LED Controller
- Experiment 5- Amarino experiment- LM35 based temperature sensor with LED controller
Other important links:
- About Amarino toolkit
- About Amarino shield
- Flickr Images
- Amarino Shield 3.0 Schematic
- Assembly tutorial
- Buy the shield
You can purchase this versatile Amarino shield at buildcircuit.net. The store is owned and operated by the team which operates buildcircuit.com.


