Using phone features with Amarino lamp
In this post…
“Make the lamp respond to orientation sensor, light sensor and phone call”
Amarino lamp responding to Phone call
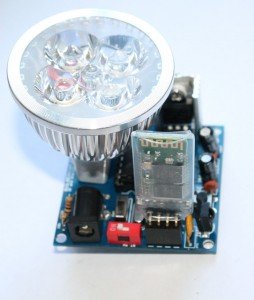
About Amarino Lamp
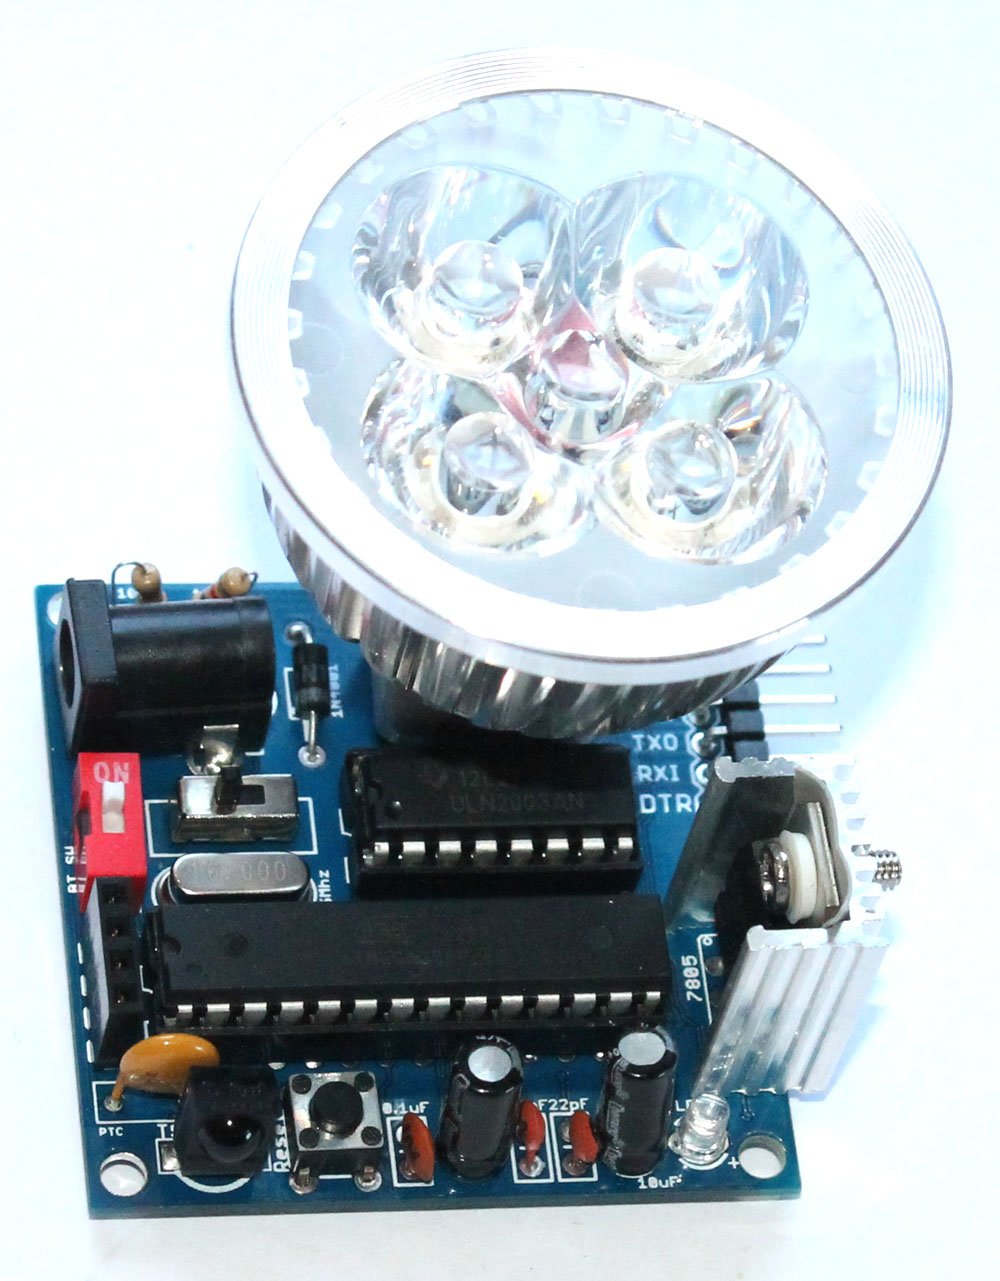
Amarino toolkit is a versatile Android application for experimenting Android-Arduino communication via Bluetooth. You can test some of the features of the Amarino toolkit application with Amarino lamp also. For example, you can make the light turn on/off/dim based on the light sensor, orientation sensor, compass, battery level data of your phone.
You can also make the lamp respond to your phone calls and SMS.
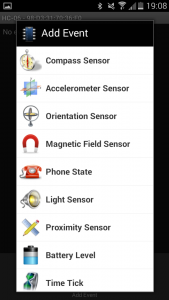
There is a list of events on Amarino application that you can test with the lamp.
Step 1: Upload this sketch to your Amarino Lamp. Remember to turn off the Bluetooth switch(the red color 1P DIP switch)
Step 2: Stack the Bluetooth module over the 4 pin female header on the Amarino lamp circuit board. Turn on the Bluetooth switch. You will see a red LED blinking on the Bluetooth module.
Step 3: Turn on the Bluetooth of your phone.
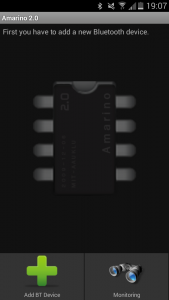
Step 4: Install and open the Amarino main application.
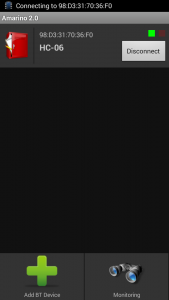
Step 5: Select Add BT Device. It will display the Bluetooth module you have stacked over the Amarino Lamp.
Step 6: Select the MAC ID of the Bluetooth module. It will prompt a box for entering the pairing code. Enter 1234 for the pairing code. This code has to be entered only once.
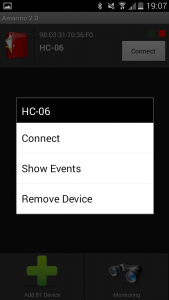
Step 7: You will then see the Bluetooth module listed on the Amarino application interface.
Step 8: Press one the list for about 2-4 seconds, it will display “Show Events”. Press Show Events.
Step 9: Then, you reach this interface. Press Add Event, you will see a list of events available with the Amarino application.
Step 10: Select any Event you like. For example, I select Light Sensor. When you press save, you will reach an interface that displays the light sensor sensed by the Amarino application.
You can see that the Light sensor data is shown under ID: ‘A’. So, you Android sketch should also have code that responds to ID: A. You can check the Arduino sketch, you will see a line:
meetAndroid.registerFunction(valuesensor, ‘A‘);
So, you cannot add another event unless you edit the Arduino sketch.
Step 11: If the light sensor data is not displayed, press the display for about 2-4 seconds, you will get message box, where you have to select, Force Enable.
After you press Force Enable, you will see something like this:

Step 12: Go back to the Amarino interface where you see the list of Bluetooth module and press Connect. As soon as the application connects with the Bluetooth module, the red LED on the Bluetooth module stops blinking.
Step 13: When you block the light falling on the phone, the LED lamp dims the light intensity. The lamp responds to the light falling on your Smart phone.
Watch this video and see the whole process for light sensor.
Step 14: Again press on the light sensor data and press Remove and again add another event, for example, orientation sensor or Phone State or Compass Sensor. You will notice that the lamp responds to all the events on the Amarino application.
Watch the video for orientation sensor.
REMEMBER: If you are using ID: A on the Amarino app, the Arduino sketch should also have ID: A on this line:
meetAndroid.registerFunction(valuesensor, ‘A‘);
If you are using ID: B, then the Arduino sketch should also have value ‘B’
Watch the video below: The following videos show the complete process on how to make the lamp respond to light sensor and orientation sensor of the phone.
Amarino Lamp responding to phone call
Arduino sketch for this experiment
Documents:
- About Amarino Lamp
- Assembly Tutorial
- Amarino Lamp- Light sensor
- Lamp test with different phone sensors
- How to program Amarino lamp


