How to make one transistor FM transmitter on a stripboard- page 2/2
This is PAGE 2/2 of the article titled “How to make one transistor FM transmitter on a stripboard”. Go to previous page.
Continued….
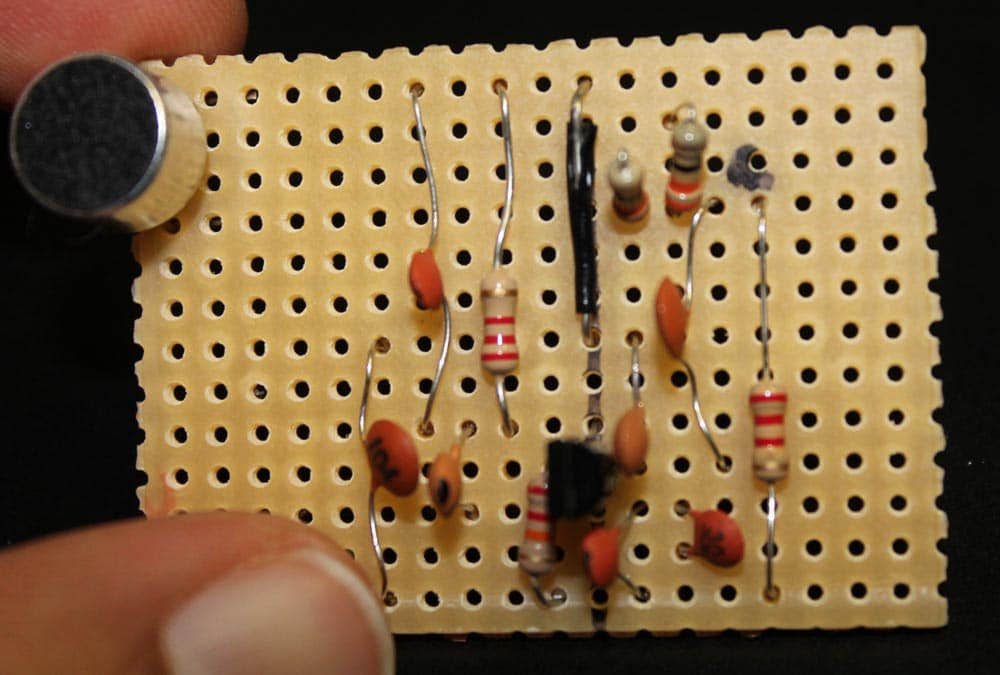
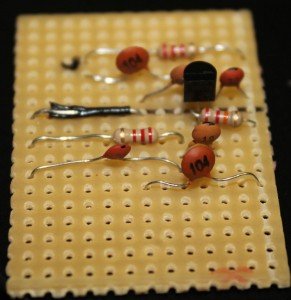
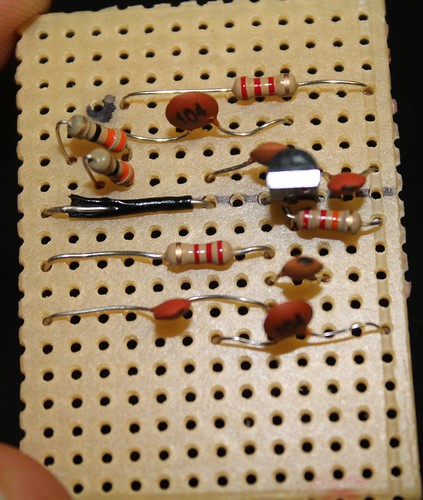
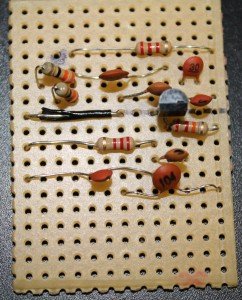
Now, solder C8 (0.1uF- code 104) capacitor. One terminal of the capacitor is connected to the +ve and the other to the -ve terminal of battery. After connecting C8, it is not necessary to connect C1 because both have the same purpose in the circuit. So, you can simply ignore C1.
Then, fix R4 and R5- 33 Ohm resistors as shown on the image. One terminal of both the resistors should connect to C2 (0.1uF capacitor).
Then, fix 30pF (C6) that connects to the antenna and the collector pin of transistor. We have fixed the antenna at last. So, you can connect one pin of the capacitor to any free line. I have connected it to the second line from the right. Click on the image if it’s not clear.
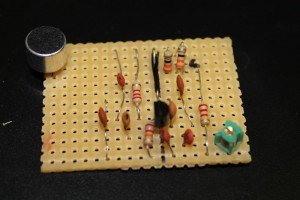
Then, fix the electret microphone. One pin of the microphone goes to the negative terminal of the battery and the other connects to C2(0.1uF). Please remember that the polarity should be correct. See here how to connect electret microphone.
There is a solder mark on the microphone, that terminal is -ve and it should be connected to -ve terminal of battery.
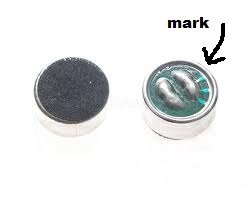
See this video- how to connect pins on electret microphone.


Now, solder the 5.5 turns inductor.
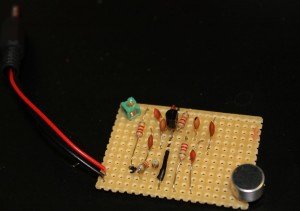
Fix the stereo jack on the strip board. Connect black wire to the -ve terminal of the battery and the red wire to the one of the 33 Ohm resistor, you can connect it to either R4 or R5. Don’t connect to both 🙂 .
This image shows how to connect the wires to the stereo jack.

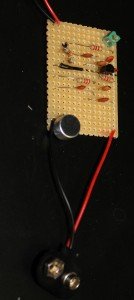
Then, connect the 9V battery connector.
Finally, connect the antenna (20 cm long wire) to C6 (30pF).
Your FM transmitter is now ready. You can connect the transmitter to your computer or any other audio player and hear the transmitted sound on your FM radio. You can also transmit your voice using the electret microphone. Please remember that FM operates at 88-108Mhz band and it is illegal to make FM transmitter in many countries. So, find out yourself if it is legal in your country.
Click here to see all the images of this project.
You can add this kit to cart
Watch the following test video:
Related articles:




At what freq approximately does the signal gets transmitted?
I have the same question. On what frequecy on the receiver have to check the output?